Jeep Parts Wiki | Ford Parts Wiki
Home | Search | Browse | Marketplace | Messages | FAQ | Guest
|
Body Service Manual August 1964 |
|
Prev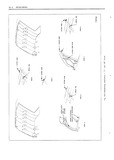
 Next
Next
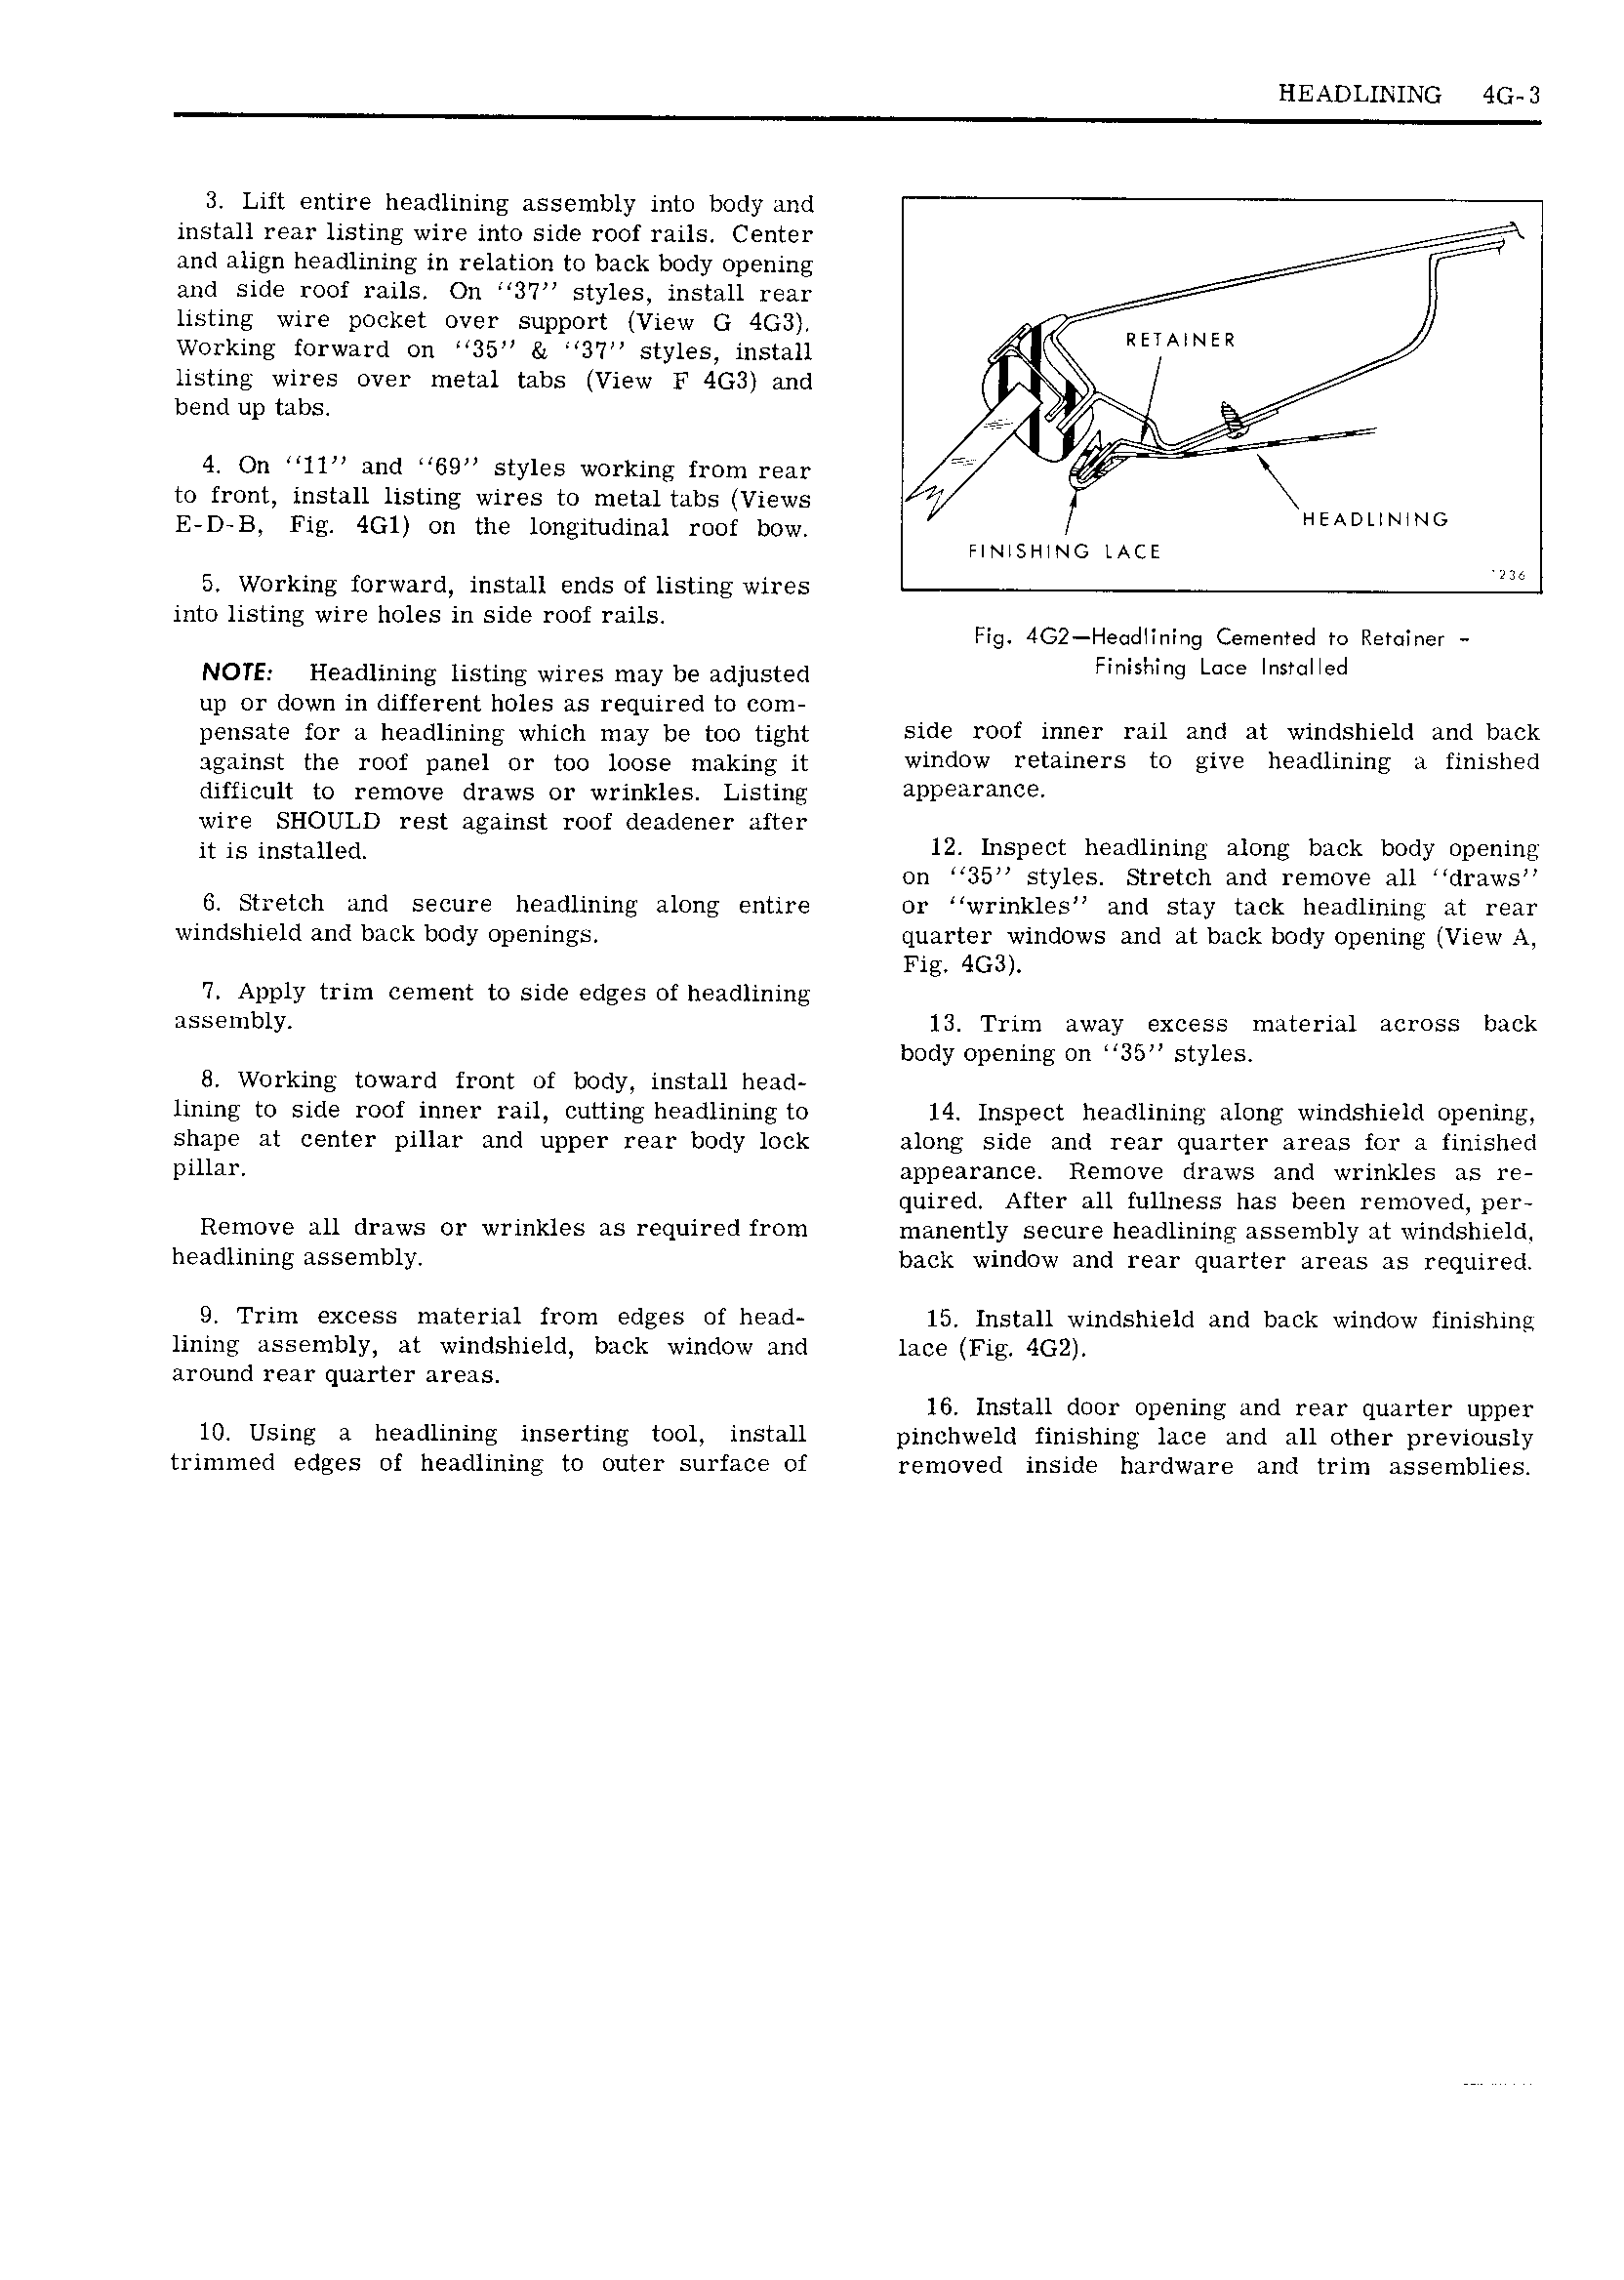
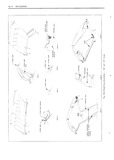
HEADLINING 4G 3 3 Lift entire headlining assembly into body and install rear listing wire into side roof rails Center and align headlining in relation to back body opening and side roof rails On 37 styles install rear listing wire pocket over support View G 4GB Working forward on 35 37 styles install I4 RET MNER listing wires over metal tabs View F 4G3 and bend up tabs g 4 R T 4 On 11 and 69 styles working from rear 2 to front install listing wires to metal tabs Views if 7 E D B Fig 4Gl on the longitudinal roof bow HEADUMNG Fmisr MMG LACE 5 Working forward install ends of listing wires M into listing wire holes in side roof rails Fig 4G2 He dHning Cemented to Retainer NOTE Headlining listing wires may be adjusted Fi i l i 9 L HEd up or down in different holes as required to com pensate On n headlining whjgh ujgy be wo tight side roof inner rail and at windshield and back ngninst nn rggf panel Oy mn IOOSQ making it window retainers to give headlining a finished difficult to remove draws or wrinkles Listing l l wire SHOULD rest against roof deadener after it is mstnued 12 Inspect headlining along back body opening on 35 styles Stretch and remove all draws 6 Stretch and secure headlining along entire or wrinkles and stay tack headlining at rear windshield and back body openings quarter windows and at back body opening View A Fig 4GB 7 Apply trim cement to side edges of headlining assembly 13 Trim away excess material across back body opening on 35 styles 8 Working toward front of body install head lining to side roof inner rail cutting headlining to 14 Inspect headlining along windshield opening shape at center pillar and upper rear body lock along side and rear quarter areas for a finished pillar appearance Remove draws and wrinkles as re quired After all fullness has been removed per Remove all draws or wrinkles as required from manently secure headlining assembly at windshield headlining assembly back window and rear quarter areas as required 9 Trim excess material from edges of head 15 Install windshield and back window finishing lining assembly at windshield back window and lace Fig 4G2 around rear quarter areas 16 Install door opening and rear quarter upper 10 Using a headlining inserting tool install pinchweld finishing lace and all other previously trimmed edges of headlining to outer surface of removed inside hardware and trim assemblies