Jeep Parts Wiki | Ford Parts Wiki
Home | Search | Browse
Prev
 Next
Next
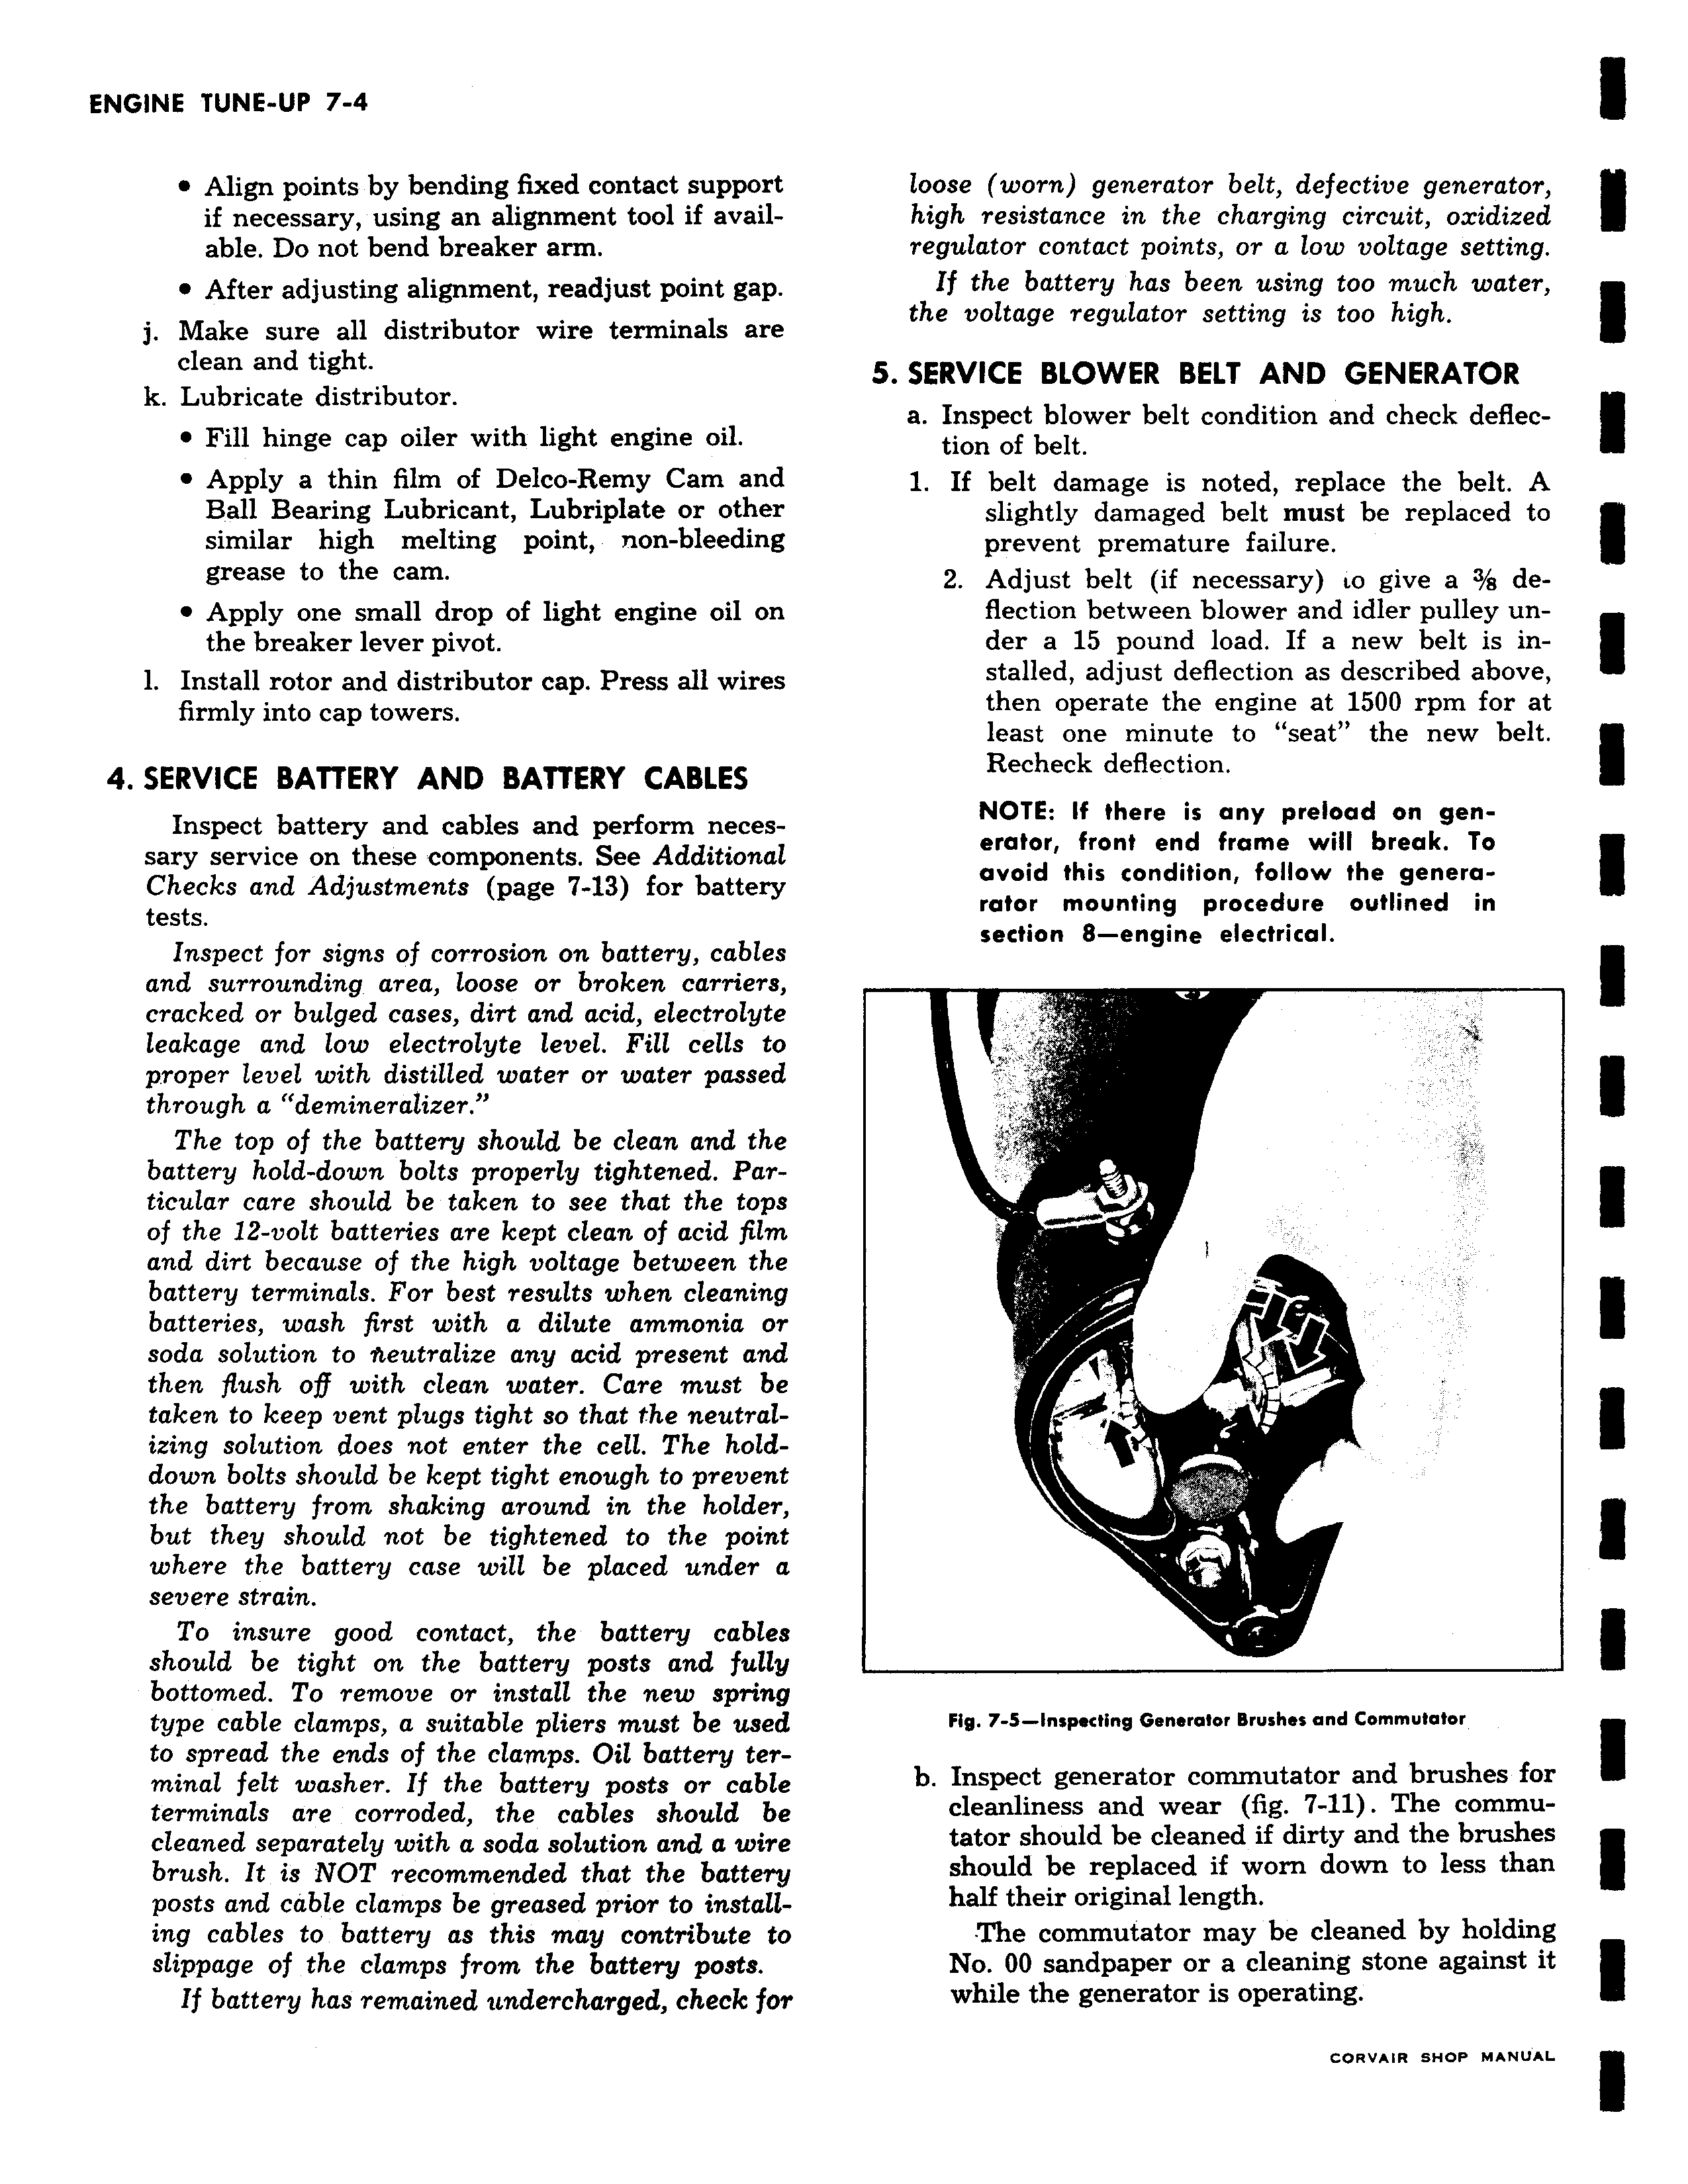
Align points by bending fixed contact support if necessary using an alignment tool if available Do not bend breaker arm After adjusting alignment readjust point gap j Make sure all distributor wire terminals are clean and tight k Lubricate distributor Fill hinge cap oiler with light engine oil Apply a thin film of Delco Remy Cam and Ball Bearing Lubricant Lubriplate or other similar high melting point non bleeding grease to the cam Apply one small drop of light engine oil on the breaker lever pivot 1 Install rotor and distributor cap Press all wires firmly into cap towers 4 SERVICE BATTERY AND BATTERY CABLES Inspect battery and cables and perform necessary service on these components See Additional Checks and Adjustments page 7 13 for battery tests Inspect for signs of corrosion on battery cables and surrounding area loose or broken carriers cracked or bulged cases dirt and acid electrolyte leakage and low electrolyte level Fill cells to proper level with distilled water or water passed through a demineralizer The top of the battery should be clean and the battery hold down bolts properly tightened Particular care should be taken to see that the tops of the 12 volt batteries are kept clean of acid film and dirt because of the high voltage between the battery terminals For best results when cleaning batteries wash first with a dilute ammonia or soda solution to ir eutralize any acid present and then flush of with clean water Care must be taken to keep vent plugs tight so that the neutralizing solution does not enter the cell The holddown bolts should be kept tight enough to prevent the battery from shaking around in the holder but they should not be tightened to the point where the battery case will be placed under a severe strain To insure good contact the battery cables should be tight on the battery posts and fully bottomed To remove or install the new spring type cable clamps a suitable pliers must be used to spread the ends of the clamps Oil battery terminal felt washer I f the battery posts or cable terminals are corroded the cables should be cleaned separately with a soda solution and a wire brush It is NOT recommended that the battery posts and cable clamps be greased prior to installing cables to battery as this may contribute to slippage of the clamps from the battery posts If battery has remained undercharged check for loose worn generator belt defective generator high resistance in the charging circuit oxidized regulator contact points or a low voltage setting If the battery has been using too much water the voltage regulator setting is too high 5 SERVICE BLOWER BELT AND GENERATOR a Inspect blower belt condition and check deflection of belt 1 If belt damage is noted replace the belt A slightly damaged belt must be replaced to prevent premature failure 2 Adjust belt if necessary to give a 3 s deflection between blower and idler pulley under a 15 pound load If a new belt is in stalled adjust deflection as described above then operate the engine at 1500 rpm for at least one minute to seat the new belt Recheck deflection NOTE If there is any preload on generator front end frame will break To avoid this condition follow the generarator mounting procedure outlined in section 8 engine electrical i i r Fig 7 5 Inspecting Generator Brushes and Commutator b Inspect generator commutator and brushes for cleanliness and wear fig 7 11 The commutator should be cleaned if dirty and the brushes should be replaced if worn down to less than half their original length The commutator may be cleaned by holding No 00 sandpaper or a cleaning stone against it while the generator is operating nevmo uno usNII L