Jeep Parts Wiki | Ford Parts Wiki
Home | Search | Browse
|
Corvair Chassis Shop Manual Supplement December 1967 |
|
Prev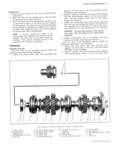
 Next
Next
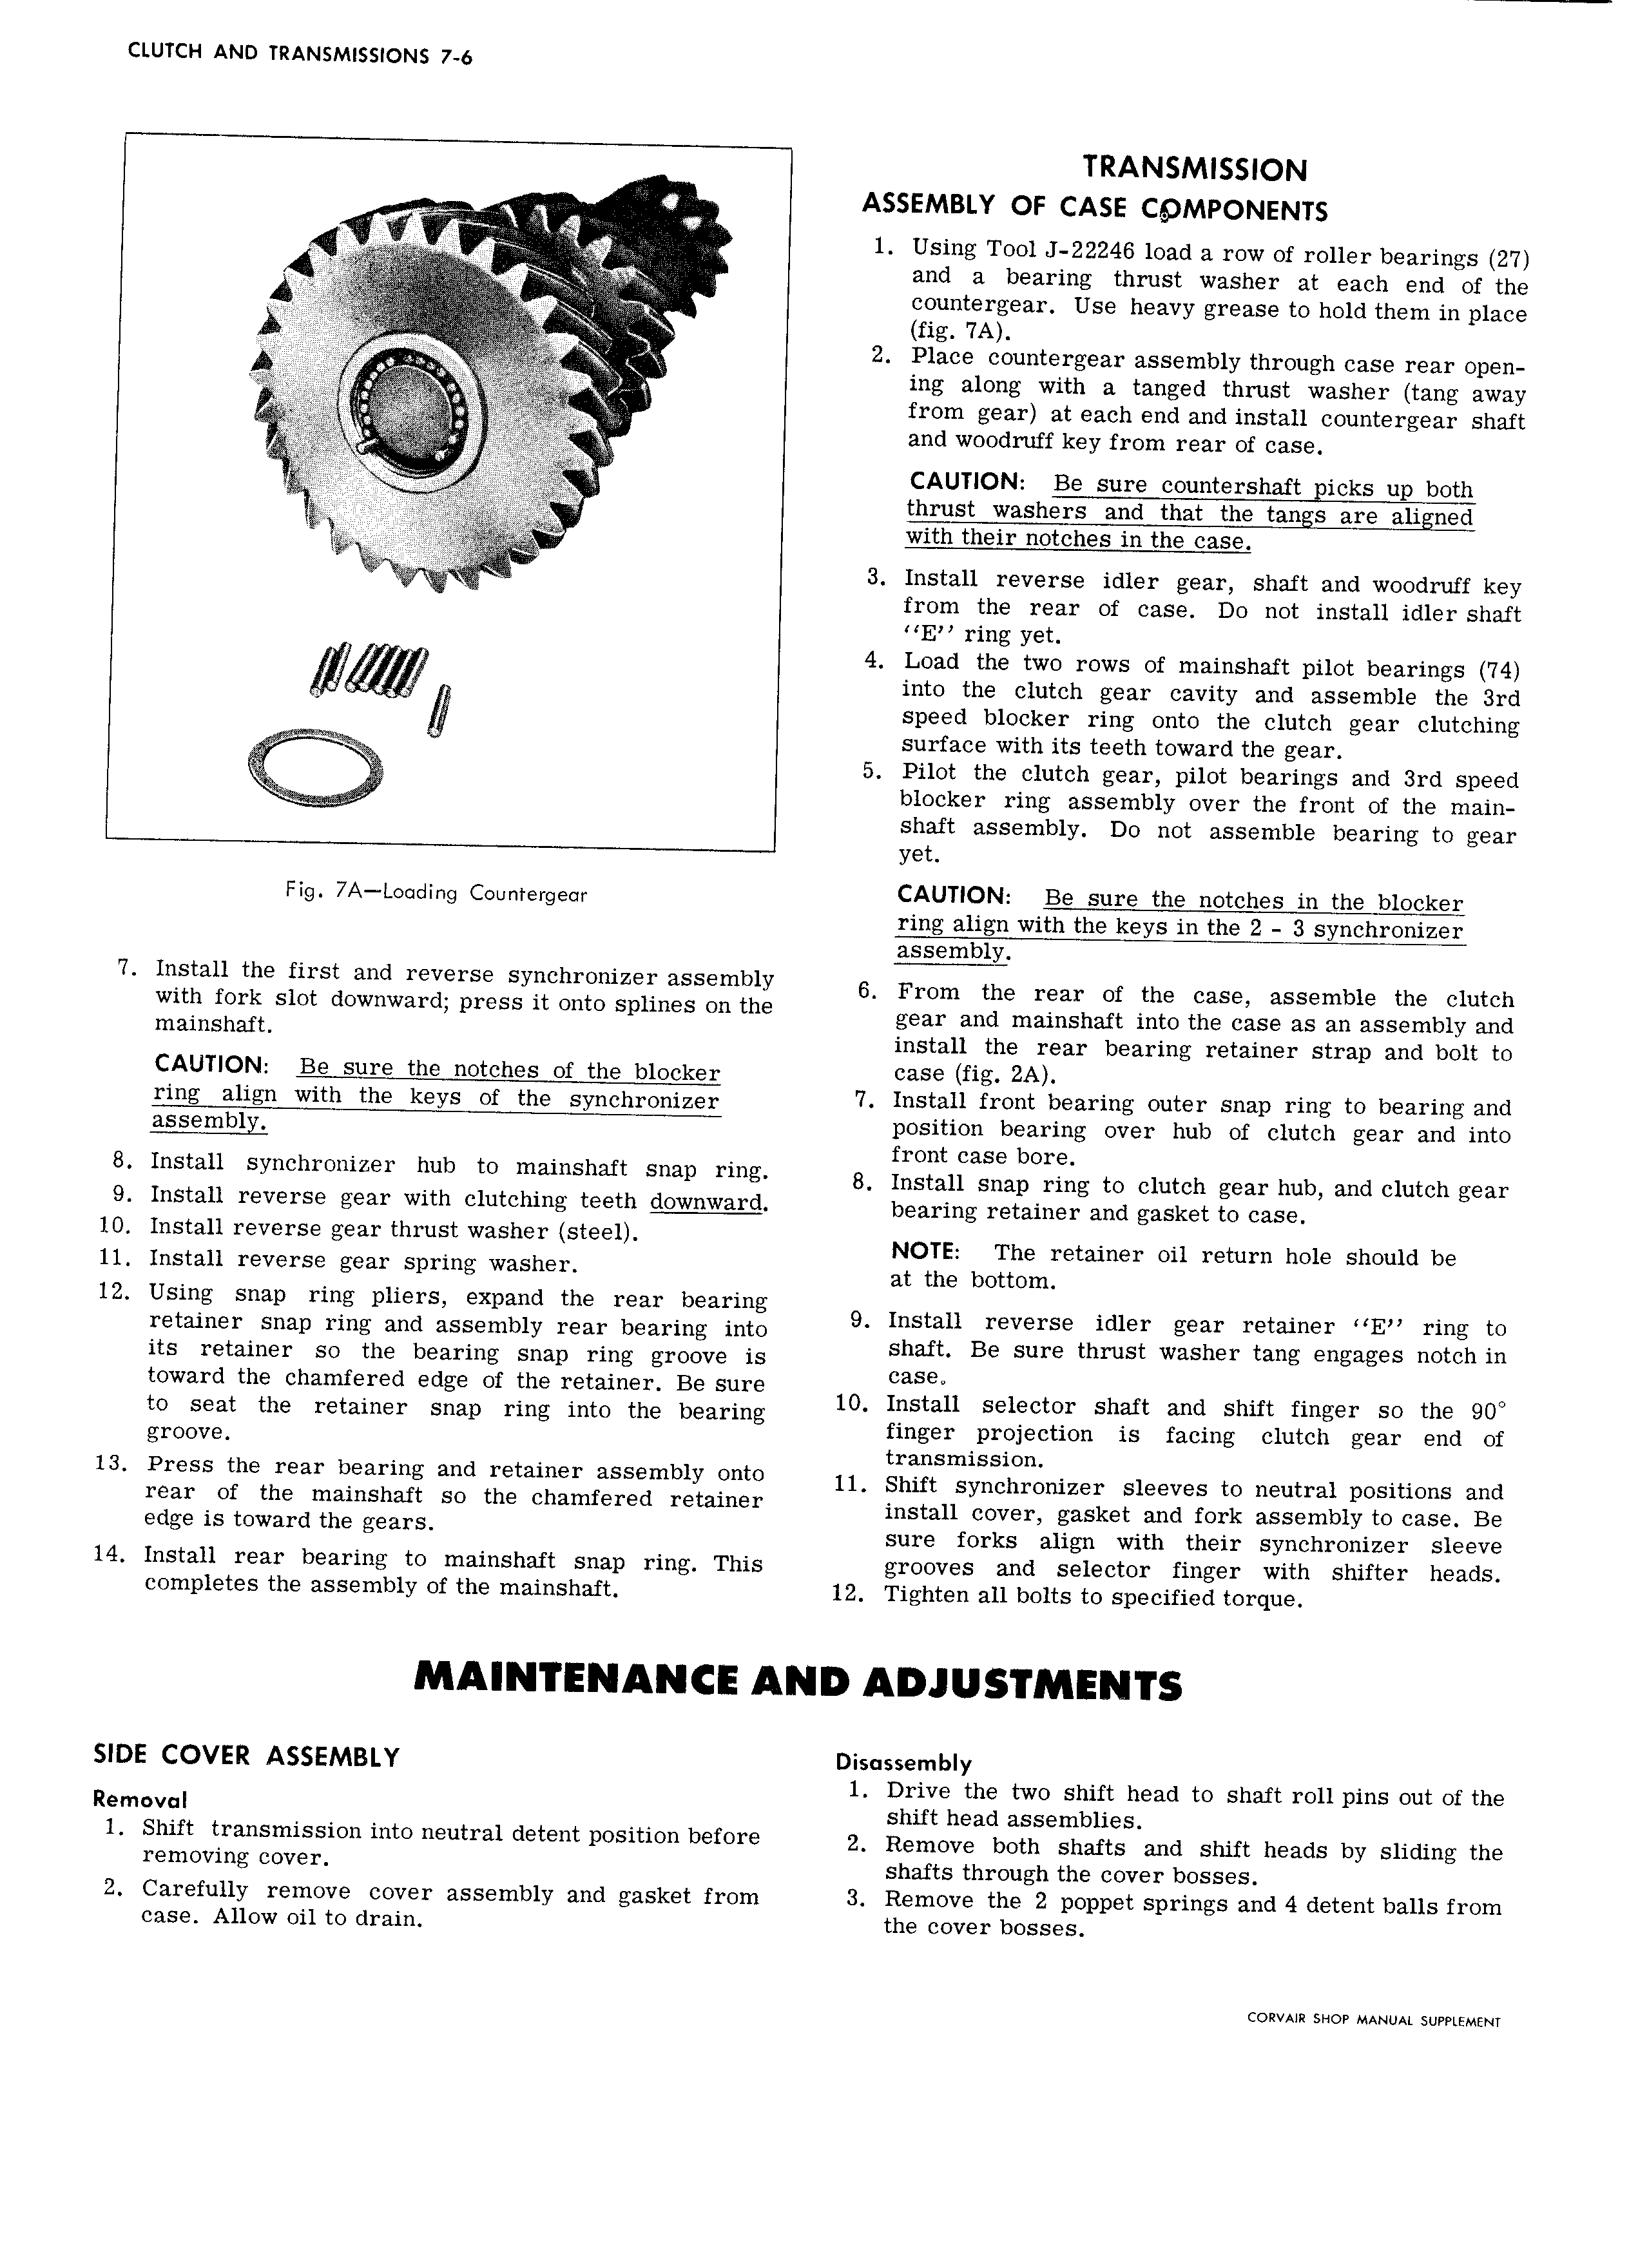
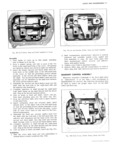
CLUTCH AND TRANSMISSIONS 7 6 TRANSMISSION gc I X ew ASSEMBLY OF CASE CQMPONENTS V A V V I 1 Using Tool J 22246 load a row of roller bearings 27 and a bearing thrust washer at each end of the L countergear Use heavy grease to hold them ill place VLVL A r It 3 2 2 Place COunt I g 3 I 3 SS I Ilb1y thI Ol1gh C3 S I 8 I Op ll rV ing along with a tanged thrust washer tang away rrly Q from gear at each end and install countergear shaft i and woodruff key from rear of case ii 1 i CAUTION Be sure countershaft icks up both we 4 rttt we ze i r I X C I thrust washers and that the tangs are aligned with their notches in the case r i Q V I 3 Install reverse idler gear shaft and woodruff key from the rear of case Do not install idler shaft E ring yet 4 Load the two rows of mainshaft pilot bearings 74 into the clutch gear cavity and assemble the 3rd g speed blocker ring onto the clutch gear clutching surface with its teeth toward the gear ew 5 Pilot the clutch gear pilot bearings and 3rd speed blocker ring assembly over the front of the main shaft assembly Do not assemble bearing to gear yet F g 7A e d hg Ccunfergeqr CAUTION Be sure the notches in the blocker ring align with the keys in the 2 3 synchronizer assembly 7 Install the first and reverse synchronizer assembly 6 From the real Of the Case assemble the Clutch W13 Smt downward press It Onto Splmes On the gear and mainshaft into the case as an assembly and m m install the rear bearing retainer strap and bolt to CAUTION Be sure the notches of the blocker Case fig ZA ymg align with the keys gf the syhehrehjzer 7 Install front bearing outer snap ring to bearing and assembly position bearing over hub of clutch gear and into front case bore 8 Mau SY h m hub t m Sh3ft Sm me 8 mean snap ring to clutch gmhub dC1utchgeer 9 Install reverse gear with clutching teeth downward heerjhg retainer and gasket fg eese 10 Install reverse gear thrust washer steel NOTE The retainer Ou mmm hole Should be 11 Install reverse gear spring washer at th bOttOm 12 Using snap ring pliers expand the rear bearing retainer snap ring and assembly rear bearing into 9 I Sti 11Br v YS th1d1 ge rftamer MEN milgh 0 its retainer so the bearing snap ring groove is 21 8 Sum ms was er ang engages mc m toward the chamfered edge of the retainer Be sure O to seat the retainer snap ring into the bearing IO Ipstau Sel ctqr Shaft ami Shut fmg r SO the 90 finger projection is facing clutch gear end of grOOV transmission 13 Press the mar hearing and mtmner assembly fmto ll Shift synchronizer sleeves to neutral positions and mar Of the mamshaft SO the Chamfered retamer install cover gasket and fork assembly to case Be Edge IS toward the g arS sure forks align with their synchronizer sleeve 14 Install rear bearing to mainshaft snap rin This rooves and selector finger with shifter heads E g completes the assembly of the mainshaft 12 Tighten all bolts to specified torque SIDE COVER ASSEMBLY Disassembly 1 Drive the two shift head to shaft roll pins out of the Removal shift head assemblies l Shift transmission into neutral detent position before 2 Remove both shafts ehd Shift hgads by Sliding the removing cover shafts through the cover bosses 2 Carefully remove cover assembly and gasket from 3 Remove the 2 poppet springs and 4 detent balls from case Allow oil to drain the cover bosses CORVAIR SHOP MANUAL SUPPLEMENT