Jeep Parts Wiki | Ford Parts Wiki
Home | Search | Browse
Prev

 Next
Next
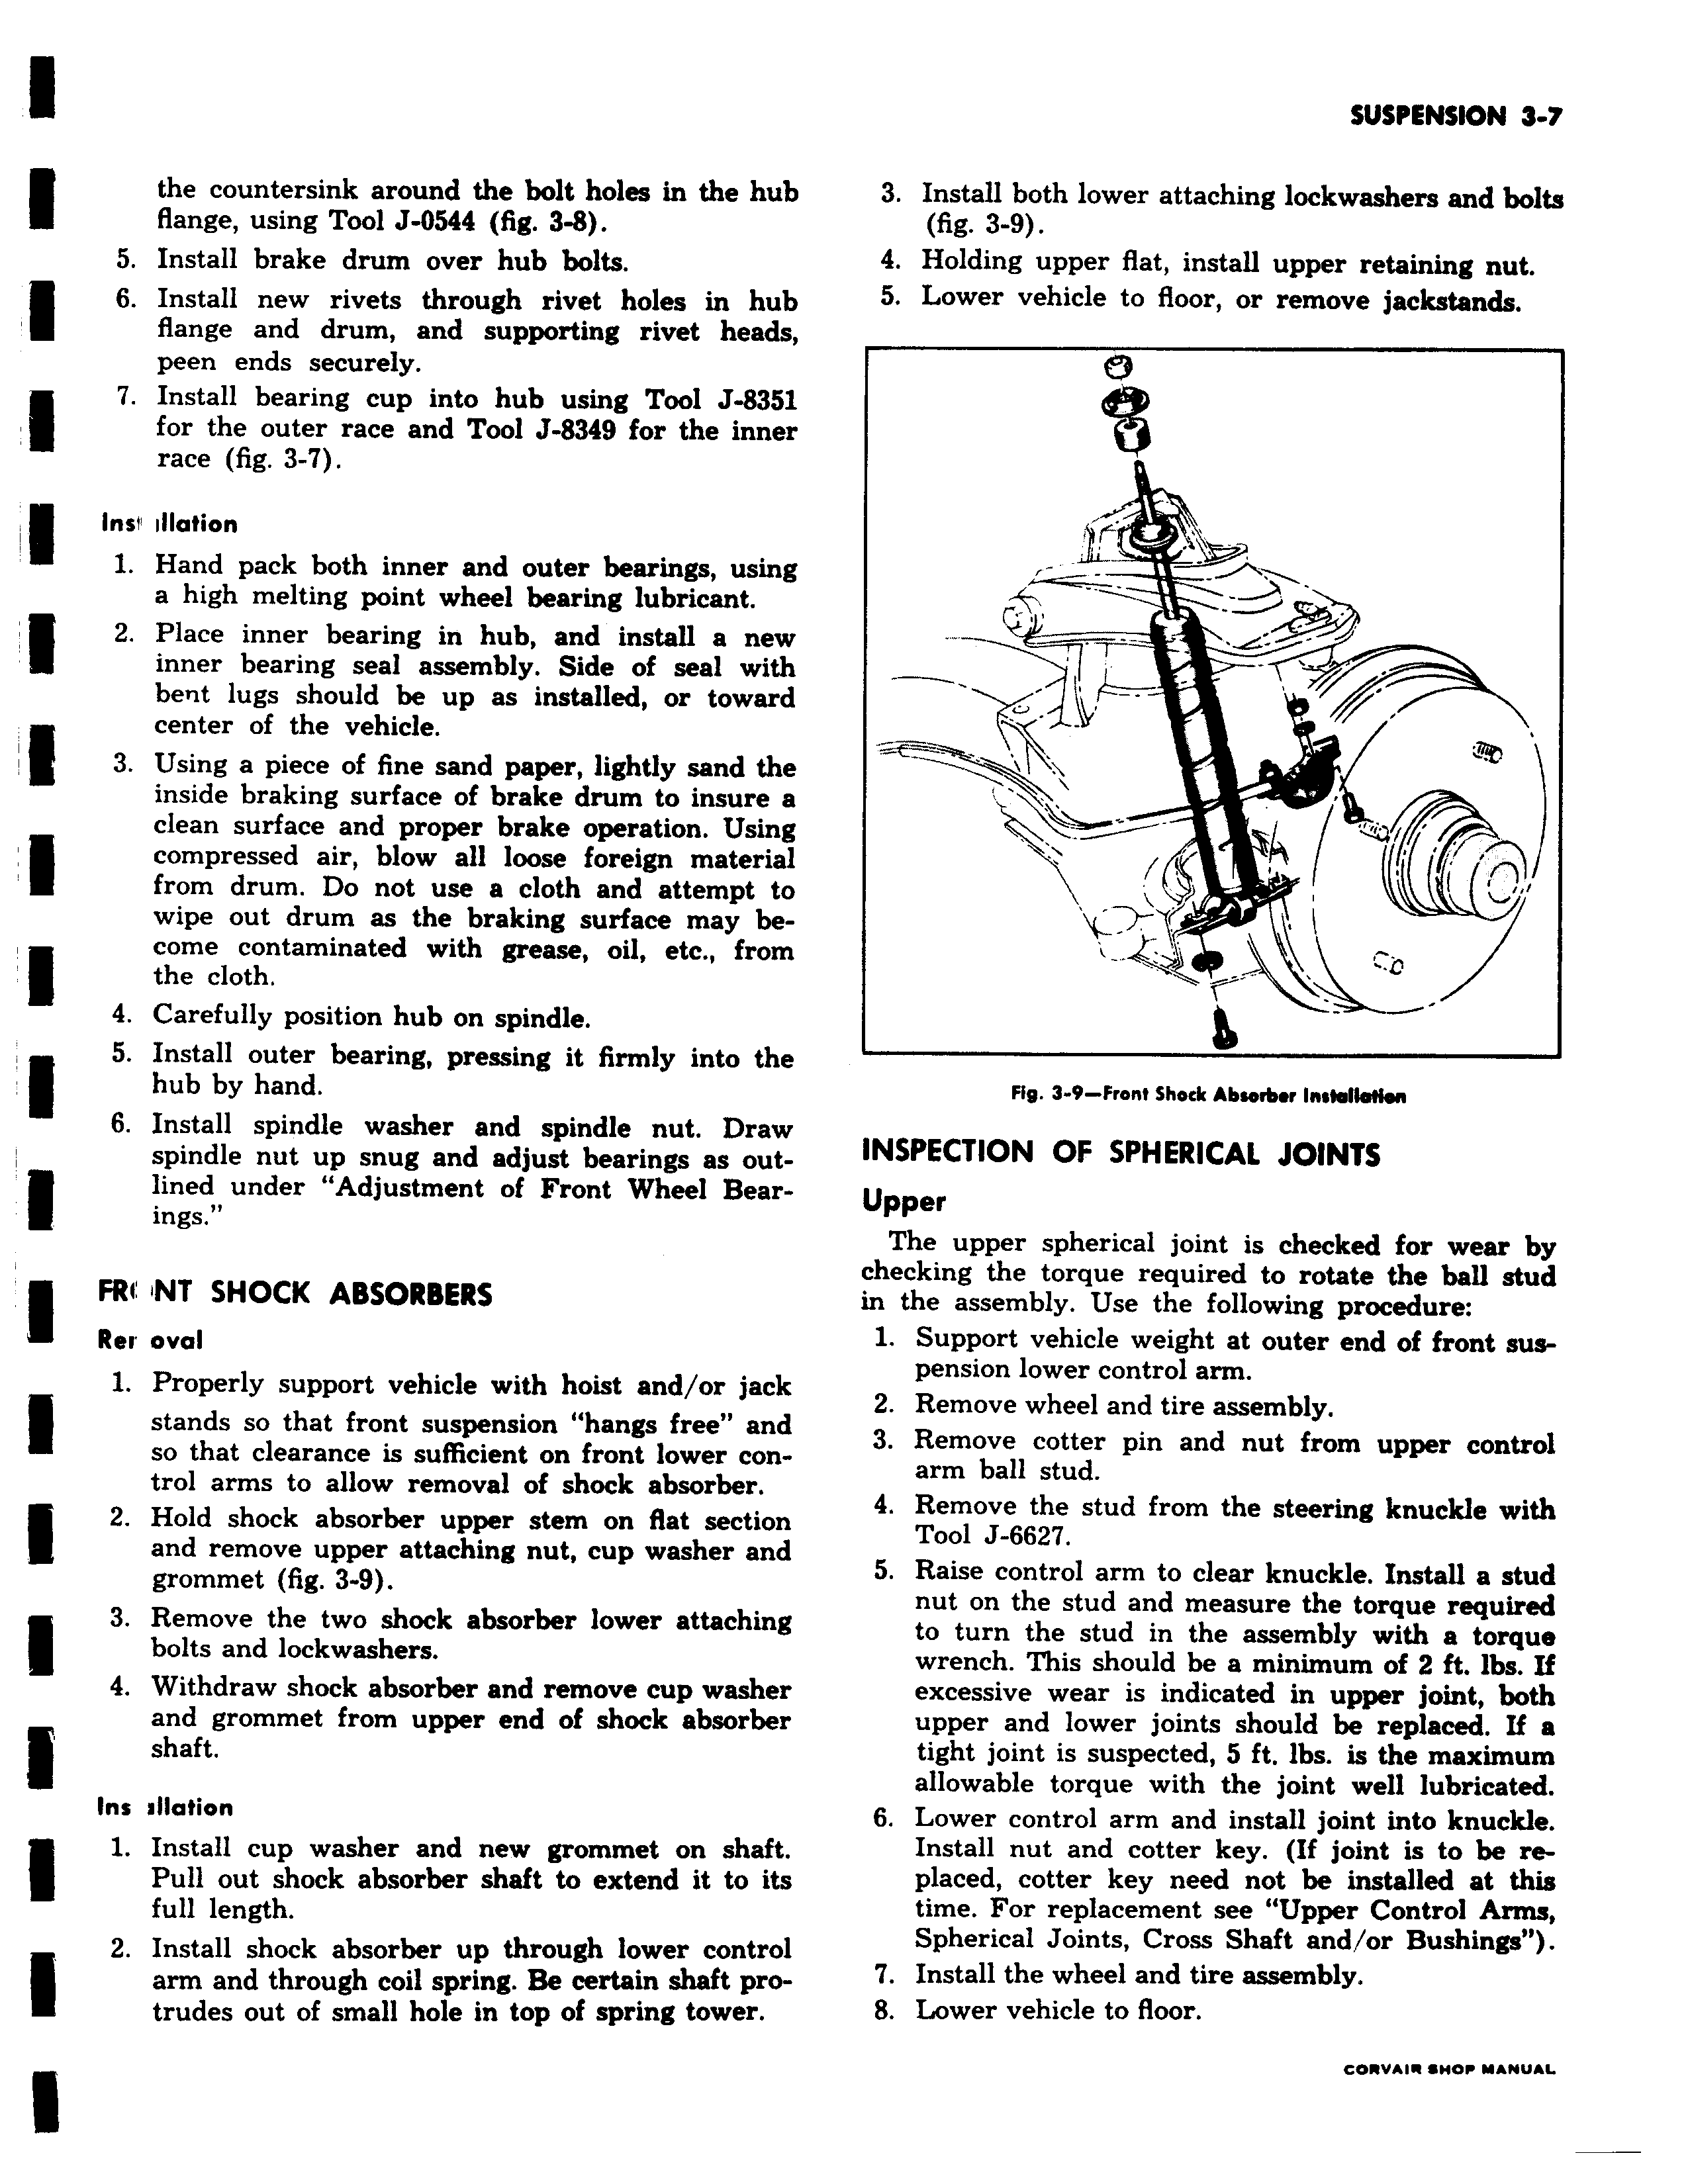
I the countersink around the bolt holes in the hub flange using Tool J 0544 fig 3 8 5 Install brake drum over hub bolts 6 Install new rivets through rivet holes in hub flange and drum and supporting rivet heads peen ends securely 7 Install bearing cup into hub using Tool J 8351 for the outer race and Tool J 8349 for the inner race fig 3 7 Inst illation 1 Hand pack both inner and outer bearings using a high melting point wheel bearing lubricant 2 Place inner bearing in hub and install a new inner bearing seal assembly Side of seal with bent lugs should be up as installed or toward center of the vehicle 3 Using a piece of fine sand paper lightly sand the inside braking surface of brake drum to insure a clean surface and proper brake operation Using compressed air blow all loose foreign material from drum Do not use a cloth and attempt to wipe out drum as the braking surface may become contaminated with grease oil etc from the cloth 4 Carefully position hub on spindle 5 Install outer bearing pressing it firmly into the hub by hand 6 Install spindle washer and spindle nut Draw spindle nut up snug and adjust bearings as outlined under Adjustment of Front Wheel Bearings FRc M SHOCK ABSORBERS Rer oval i 1 Properly support vehicle with hoist and or jack stands so that front suspension hangs free and so that clearance is sufficient on front lower control arms to allow removal of shock absorber 2 Hold shock absorber upper stem on flat section and remove upper attaching nut cup washer and grommet fig 3 9 3 Remove the two shock absorber lower attaching bolts and lockwashers 4 Withdraw shock absorber and remove cup washer and grommet from upper end of shock absorber shaft Ins aIlafion 1 Install cup washer and new grommet on shaft Pull out shock absorber shaft to extend it to its full length 2 Install shock absorber up through lower control arm and through coil spring Be certain shaft protrudes out of small hole in top of spring tower 3 Install both lower attaching lockwashers and bolts fig 3 9 4 Holding upper flat install upper retaining nut 5 Lower vehicle to floor or remove jackstands r v y Fig 3 9 Front Shock Absorber Instoilled INSPECTION OF SPHERICAL JOINTS Upper The upper spherical joint is checked for wear by checking the torque required to rotate the ball stud in the assembly Use the following procedure 1 Support vehicle weight at outer end of front suspension lower control arm 2 Remove wheel and tire assembly 3 Remove cotter pin and nut from upper control arm ball stud 4 Remove the stud from the steering knuckle with Tool J 6627 5 Raise control arm to clear knuckle Install a stud nut on the stud and measure the torque required to turn the stud in the assembly with a torque wrench This should be a minimum of 2 ft lbs If excessive wear is indicated in upper joint both upper and lower joints should be replaced If a tight joint is suspected 5 ft lbs is the maximum allowable torque with the joint well lubricated 6 Lower control arm and install joint into knuckle Install nut and cotter key If joint is to be replaced cotter key need not be installed at this time For replacement see Upper Control Arms Spherical Joints Cross Shaft and or Bushings 7 Install the wheel and tire assembly 8 Lower vehicle to floor

 Next
Next